Installation Tips for LED Neon Strip Lights
Installation Tips for LED Neon Strip Lights
LED neon strip lights have revolutionized the way we illuminate and decorate spaces, offering a blend of vibrant colors and flexibility that traditional lighting solutions can’t match. Whether you’re a DIY enthusiast looking to add some flair to your home or a business owner aiming to attract customers, understanding how to properly install these bright LED strips is crucial. Let’s explore some essential tips and techniques for installing neon LED strip lights effectively.
Understanding LED Neon Strip Lights
Before diving into installation, it’s important to understand what makes LED neon strip lights unique. Unlike traditional glass neon lights, LED neon strips are flexible and can be bent into various shapes without breaking. This flexibility makes them perfect for creative designs and intricate installations.
Benefits of LED Neon Strip Lights
LED neon strip lights offer numerous advantages over conventional lighting options:
- Energy Efficiency: They consume less power, making them a cost-effective choice for prolonged use.
- Durability: These lights are made from high-quality materials that can withstand various weather conditions, making them suitable for both indoor and outdoor use.
- Versatility: Available in a wide range of colors, including RGB options, allowing for dynamic lighting effects.
Preparing for Installation
Proper preparation is key to a successful installation of neon LED strip lights. Here’s what you need to consider:
Selecting the Right LED Strip
Choosing the best neon LED strip lights for your project is critical. Consider factors such as:
- Brightness: Determine the level of brightness you need. Bright LED strips are ideal for task lighting, while softer hues are perfect for ambient settings.
- Voltage: Ensure that your neon LED strip lights are compatible with a 12V power supply, which is standard for most installations.
- Color Options: Decide whether you want single-color, multi-color (RGB), or programmable options for dynamic lighting effects.
Measuring Your Space
Accurate measurements will help you determine how much LED strip lighting you need. Measure the length of the area you plan to illuminate and consider additional length for bends or turns.
Gathering Necessary Tools
To install your LED neon strip lights, you’ll need:
- A tape measure
- Scissors or a utility knife
- Adhesive or mounting clips
- A power supply and connectors
- A dimmer switch (if desired)
Step-by-Step Installation Guide
Now that you’re prepared, it’s time to start the installation process. Follow these steps to ensure a smooth setup:
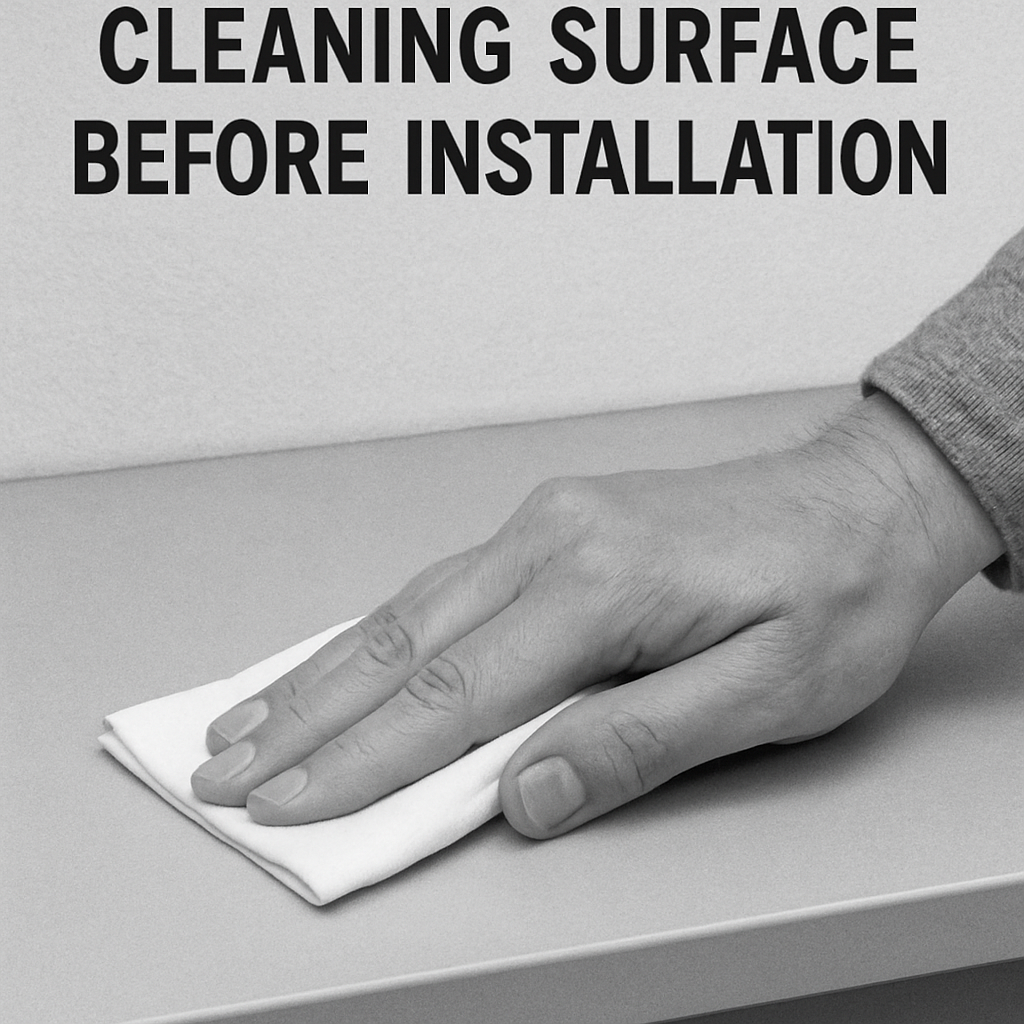
Step 1: Prepare the Surface
Clean the surface where you’ll be installing the LED strip lights. A clean, dry surface ensures better adhesion and longevity for your strips.

Newest in the store
Step 2: Cut the Strip to Length
LED neon strip lights can be cut to fit your specific needs. Look for designated cutting points marked along the strip. Use sharp scissors or a utility knife to cut the strip accurately.
Step 3: Connect the Power Supply
Attach the strip lights to the power supply using the appropriate connectors. Ensure that the connections are secure to prevent any electrical issues. If using a 12V power supply, double-check that the voltage matches your LED strip requirements.
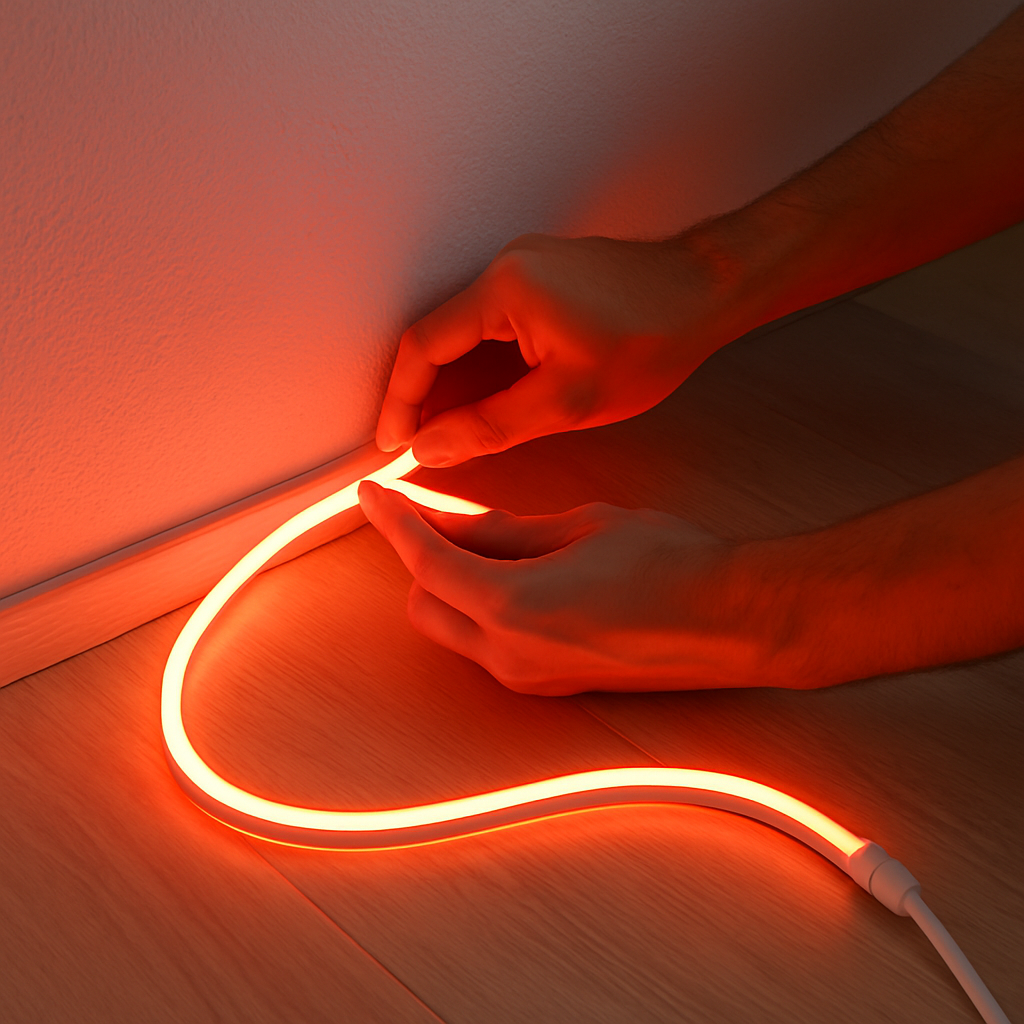
Step 4: Apply the Strip Lights
Peel off the adhesive backing from the LED strip and carefully press it onto the prepared surface. For added security, consider using mounting clips, especially in outdoor or high-traffic areas.
Step 5: Test the Lights
Before completing the installation, test the lights to ensure they’re functioning correctly. This step allows you to troubleshoot any issues before finalizing the setup.
Creative Applications of LED Neon Strip Lights
Once installed, LED neon strip lights can transform any space. Here are some creative ways to use them:
Home Decor
- Accent Lighting: Highlight architectural features, such as crown molding or staircases, with colorful LED strips.
- Under-Cabinet Lighting: Brighten kitchen spaces and improve visibility with under-cabinet neon strip lights.
Business and Retail
- Signage: Create eye-catching LED neon signs that draw customers to your storefront.
- Display Lighting: Use decorative LED strips to illuminate products and create an inviting atmosphere.
Events and Entertainment
- Stage Lighting: Enhance performances with vibrant, flexible LED neon strip lights that can be programmed for dynamic effects.
- Party Decor: Set the mood for any event with RGB strip lights, allowing for a customizable lighting experience.
by G. Mckenzie (https://unsplash.com/@grantryan)
Maintenance Tips for Longevity
To keep your LED neon strip lights looking and functioning their best, follow these maintenance tips:
- Regular Cleaning: Dust and dirt can accumulate on the surface of the lights. Wipe them down gently with a soft cloth as needed.
- Check Connections: Periodically inspect the power supply and connectors to ensure they remain secure.
- Avoid Overheating: Ensure proper ventilation around the lights to prevent overheating, which can shorten their lifespan.
Conclusion
LED neon strip lights offer an exciting and versatile way to enhance your home, business, or event space. By understanding the basics of installation and following these tips, you can enjoy the beauty and functionality of these colorful LED strips for years to come. Whether you’re creating a cozy ambiance in your living room or a vibrant display for your storefront, LED neon strip lights are a brilliant choice.


