


SHT45 Humidity Sensor: 7 Steps from CRC to Enclosure Testing

SHT45 Humidity Sensor: 7 Steps from CRC to Enclosure Testing
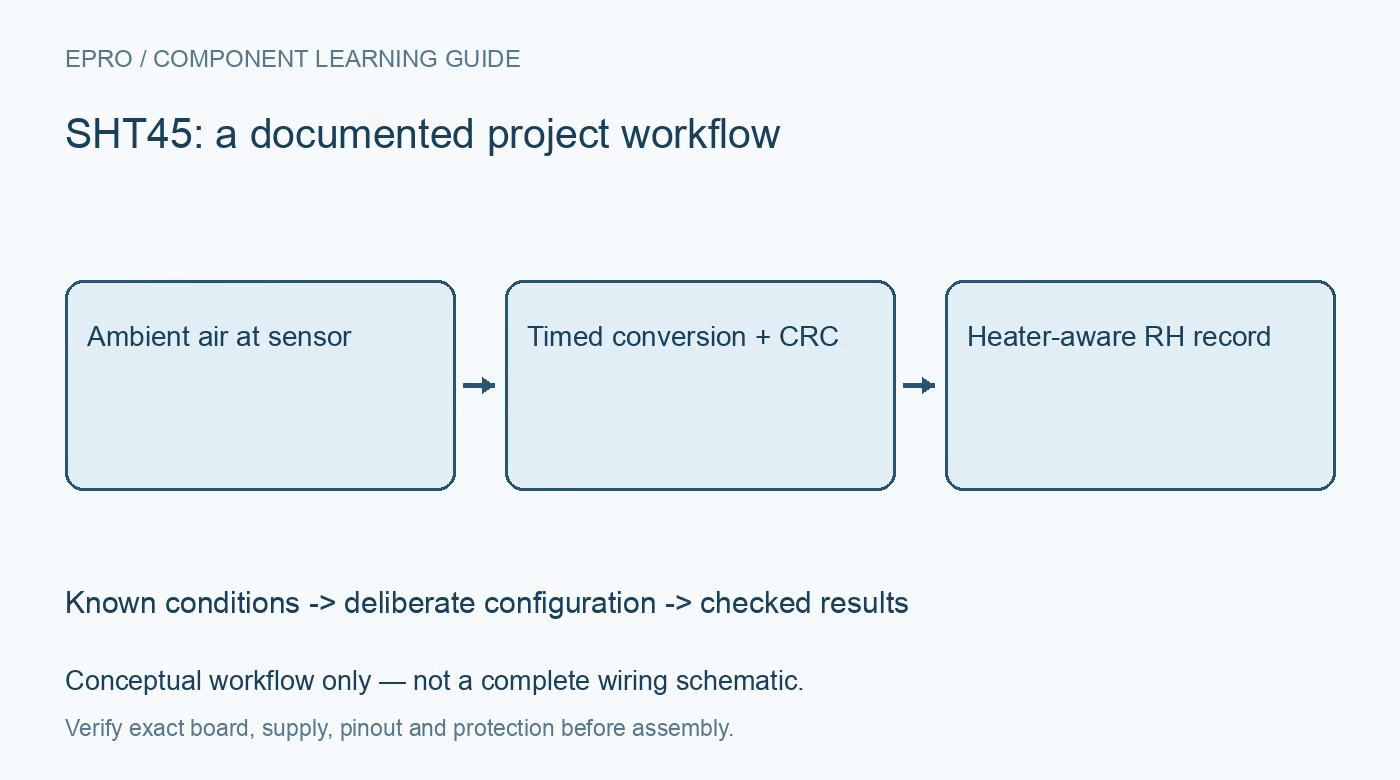
Use an SHT45 humidity sensor with checked CRC bytes, timed conversions and heater-aware logging, then evaluate placement inside the final enclosure. This is a documentation-based project guide, not an independent hands-on test report.
1. Start with the air, not the display
An SHT45 project succeeds when the sensor measures representative air rather than its own electronics. Sensirion places this part in the SHT4x digital humidity and temperature family. Define whether the application needs room trends, an enclosure warning or comparison with a reference instrument. Those goals require different placement and response expectations. This guide develops a measurement record; it does not claim that a particular assembled module has been independently calibrated. Manufacturer documentation.
2. Confirm the exact SHT45 board
Read the carrier schematic and sensor ordering information before applying power. The bare sensor limits are not the same as a breakout board input label. Verify the supply, I2C pull-up voltage, connector order and documented address for the exact variant. A bus acknowledgment alone cannot identify the fitted sensor. Record the serial number using the documented command when supported, and retain the board revision with the firmware settings. Manufacturer documentation.
3. Schedule complete conversions
Select a measurement command for the required repeatability and power budget. Start the conversion, allow its documented maximum duration, then read the complete response. Avoid treating an early failed read as zero humidity. Keep a timeout and a separate validity flag. If the acquisition task shares the bus with other devices, measure scheduling delays and timestamp the completed observation rather than assigning an assumed perfectly regular sampling interval. Manufacturer documentation.
4. Check both CRC-protected words
The temperature and humidity words each arrive with their own CRC byte. Validate both using the manufacturer polynomial, initialization and byte order before converting either result. A plausible temperature must not hide a corrupted humidity word. Keep the original bytes during bring-up so decoding errors can be reproduced. Use the SHT4x conversion equations, not a formula copied from a different humidity family or a convenient percentage multiplier. Manufacturer documentation.
Newest in the store


5. Treat heater operation as a separate state
The integrated heater is a deliberate conditioning tool, not a way to improve every room-temperature sample. Choose its documented command, power and duration within the operating restrictions. Flag measurements taken during heating and allow recovery before interpreting them as ambient conditions. Do not silently mix heated and unheated values in a trend chart. Log heater activity so a humidity dip is not mistaken for a sudden change in room ventilation. Manufacturer documentation.
6. Evaluate enclosure lag and self-heating
Place the sensing opening away from regulators, processors and direct sunlight while preserving airflow. Compare readings before and after closing the enclosure under otherwise stable conditions. Record recovery after a modest environmental change without spraying water or chemicals onto the sensor. A slow response can originate in the enclosure rather than the conversion command. Adhesives, cleaning products and handling contamination also deserve attention during mechanical design. Manufacturer documentation.
7. Keep a usable SHT45 evidence log
Save serial identity, command, raw words, CRC status, decoded units, heater state and timestamp. Compare against a suitable reference only after both instruments have equilibrated, documenting placement and their specified uncertainties. The linked SHT31 article provides background, not interchangeable commands. Accept the design only when communication faults, conditioning intervals and enclosure response are visible in the record instead of disappearing behind a smooth dashboard. Manufacturer documentation.
Related reading: SHT31 Arduino: 7 CRC, Timing and Heater-State Checks.
Catalog note: The exact-part search did not return a matching Epro listing during preparation. Check the current catalog; this guide makes no availability, price or accessory claim.