


Capacitive Soil Moisture Sensor: 7 Buying Checks

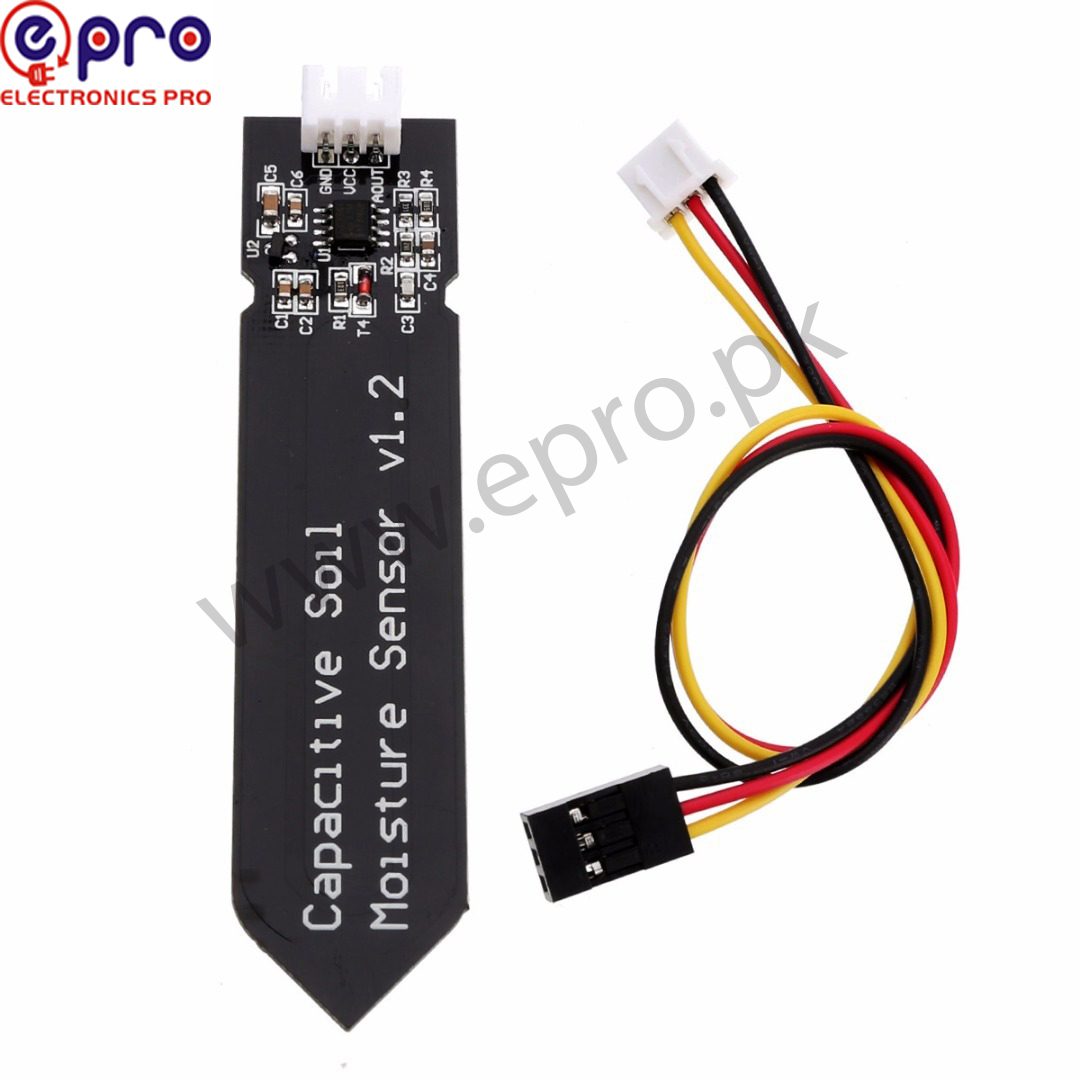
A capacitive soil moisture sensor can help a small controller monitor changes in a plant pot or growing medium. Before buying one, distinguish a low-cost analog probe from a calibrated agricultural instrument. The useful result depends on the sensor, soil, installation and calibration together.
This guide explains the Epro module’s listed features and the checks needed for a low-voltage learning project. It does not claim laboratory accuracy, a guaranteed service life or direct measurement of volumetric water content.
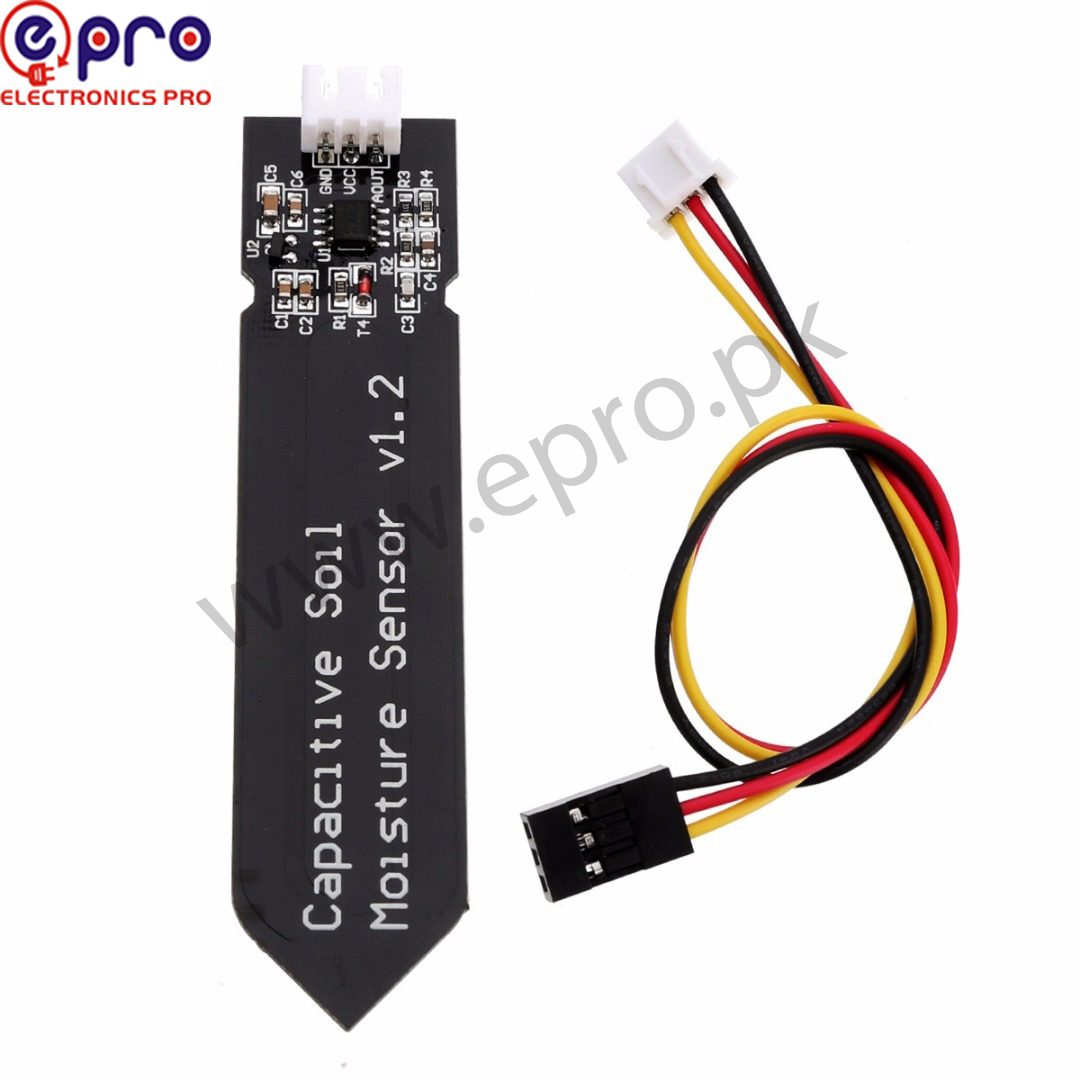
Capacitive soil moisture sensor: listed price and package
| Listed item | Price (PKR) | Selection note |
|---|---|---|
| Capacitive Soil Moisture Sensor Module Price in Pakistan | 190 | Analog capacitive probe; verify connector and cable package |
Price snapshot: Epro product listings checked on 18 October 2026. Prices and availability can change. Confirm the live listing, delivery charges and supplied accessories before ordering; these figures are not a quotation or a claim of independent product testing.
The capacitive moisture module listing describes operation from 3.3 V or 5 V and an analog output. A controller, suitable analog input and any display are separate project requirements. Do not treat a single module’s price as the total cost of an automatic watering system.
1. Understand capacitive versus resistive sensing
A common resistive fork measures an electrical path through the medium. Exposed electrodes can corrode, and conductivity changes affect readings. A capacitive probe senses a change in capacitance and can keep its sensing conductors covered. That reduces one corrosion mechanism, but does not make every part of the board waterproof.
The Epro listing specifically identifies vulnerable cut PCB edges and exposed electronics near the top. Continuous wet exposure can still damage a low-cost board. Choose an appropriately sealed instrument for a permanent outdoor installation rather than assuming that a coated-looking probe is fully sealed.
2. Check the output type before choosing a controller
An analog output needs an analog-to-digital converter. An Arduino Uno has analog inputs, but a Raspberry Pi normally needs a separate suitable ADC for this type of sensor. A digital threshold board and an analog capacitive probe are not interchangeable simply because both are sold as moisture sensors.
Confirm the maximum output voltage against the controller input limit. A sensor powered from 5 V should not automatically be considered safe for a 3.3 V-only ADC. Measure and verify the actual signal range and follow the exact controller’s documentation.
Newest in the store


3. Plan calibration for your growing medium
Potting compost, sand and a compact garden soil can produce different readings at the same apparent wetness. Fertilizer, salts, placement and packing also matter. Use consistent insertion depth and establish meaningful reference conditions for your own medium instead of copying another person’s raw numbers.
A two-point conversion can create a convenient relative wetness index. It is not automatically a scientifically calibrated moisture percentage. For irrigation decisions, relate the readings to the plant and soil requirements through observation and appropriate independent checks.
4. Keep the electronics out of water
Insert only the intended sensing area. Keep the connector and components clear of splashes, standing water and condensation. A waterproof enclosure for a controller does not protect a probe’s exposed upper board. Do not submerge the full assembly for a quick calibration photograph.
Any additional protective coating can change performance or conceal damage. Follow the manufacturer’s instructions for the exact unit rather than applying an arbitrary sealant and assuming the result has a certified ingress rating.
5. Budget for stable power and wiring
Use a regulated supply within the module’s rating and connect the analog reference ground correctly. Keep the signal wiring sensible and separate from noisy motor-current paths. Do not power a module from a GPIO merely because a catalog suggests low consumption; verify the electrical requirements and use an appropriate supply arrangement.
6. Separate sensing from pump control
The probe cannot power a pump. A pump needs its own suitable driver, supply, protection and safe installation. First log readings without controlling an actuator. Later automation should include sensor-fault handling, minimum and maximum run times and independent protection against uncontrolled watering.
7. Start with a repeatable bench test
Follow the Arduino code and soil-sensor calibration guide to inspect raw readings before interpreting them. The DFRobot calibration reference explains why insertion depth and reference conditions matter for its own sensor. Its example numbers are not calibration values for every generic capacitive module.