


VEML7700 Arduino: 7 Raw-Count and Freshness Checks

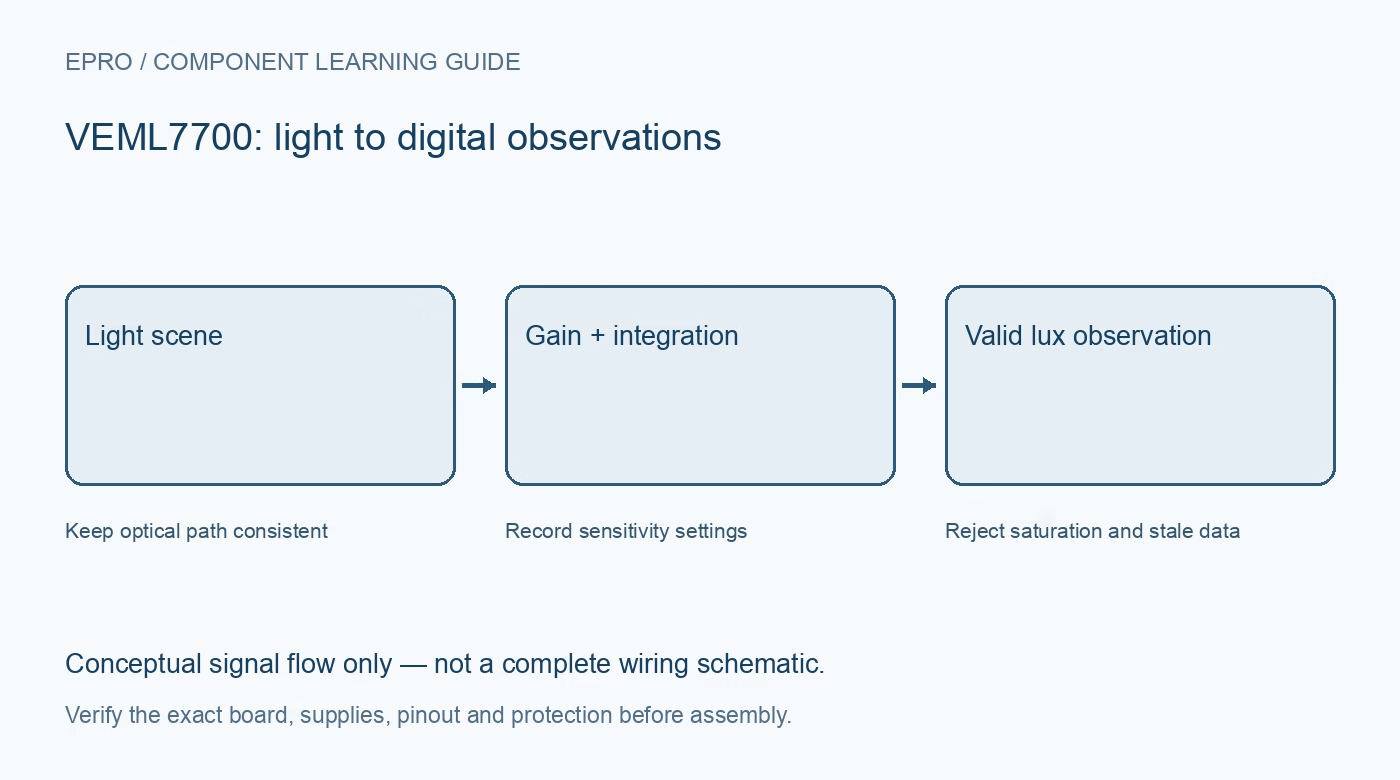
A VEML7700 Arduino test is easier to diagnose when it logs raw counts alongside lux and configuration. Begin with a steady room-light scene, a documented carrier and a maintained driver before introducing automatic sensitivity changes or lighting-control decisions.
Check wiring without applying power
Identify supply, ground, SDA and SCL from the exact module documentation. The sensor IC is a low-voltage part; a similar-looking carrier is not proof of 5 V compatibility. Confirm the host I2C pins and all pull-up rails before connecting additional peripherals.
Use the seven-bit address and check initialization
Pass 0x10 where the host API expects a seven-bit address, not the shifted read or write byte. Require a successful driver initialization and handle failures explicitly. An address acknowledgment alone does not show that conversions have been enabled or that the selected register sequence is correct.
Enable measurement and record configuration
The documented power-up configuration leaves the device shut down. Use the driver to select active operation, gain and integration, then read back settings where supported. Keep automatic gain disabled for the first baseline run so a sensitivity change cannot be mistaken for a change in room illumination.
Respect word order and transfer length
The documented word protocol transfers the low byte before the high byte. A maintained library may assemble that automatically. In direct register code, reject short reads and combine bytes in the specified order; do not fill a missing byte with an old buffer value and continue calculating lux.
Wait for integration and power-saving refresh
A shorter loop delay does not create faster sensor updates. Integration and power-saving mode both influence when a new value is available. After changing settings, allow a full appropriate acquisition interval before accepting the next observation, and associate it with the configuration that produced it.
Handle saturation before conversion
Track raw counts and the driver’s over-range convention. If sensitivity is reduced, wait for a new sample before comparing the resulting lux. Verify whether the library already performs any high-light correction rather than applying the same correction twice or assuming a fixed multiplier works for all settings.
Newest in the store


Exercise useful error and recovery states
Log count, lux, settings, successful-sample time and communication status. Shade the optical opening without touching it, then restore normal illumination. Test an incorrect address in software and require unavailable data rather than darkness. Power down before rewiring; these checks are functional tests, not an independent calibration.
Frequently asked questions
Why does the reported value lag the loop timer?
The integration and refresh interval can be longer than the loop period. Repeated printing is not proof of a fresh conversion.
Should an I2C error be shown as zero lux?
No. A valid dark observation and a failed transfer must remain different application states.
Availability and illustration note
No matching Epro product was returned by the catalog search on 21 October 2026 UTC. This learning guide does not assert stock, a selling price or compatibility of an unidentified substitute. The illustration is an original conceptual signal-flow diagram, not a product photograph or complete wiring schematic.
Related Epro reading
For a first bench setup, review breadboard connections and continuity checks and I2C voltage-level translation. These guides do not replace the exact module schematic.
Technical references and limitations
Source: Vishay VEML7700 datasheet. Electrical limits apply to the named part, not automatically to every carrier board. This is a documentation-based learning workflow, not a claim of independent hardware testing, traceable calibration or safety certification.