


DHT22 Sensor: Choosing Bare, Module and Wired AM2302 Forms

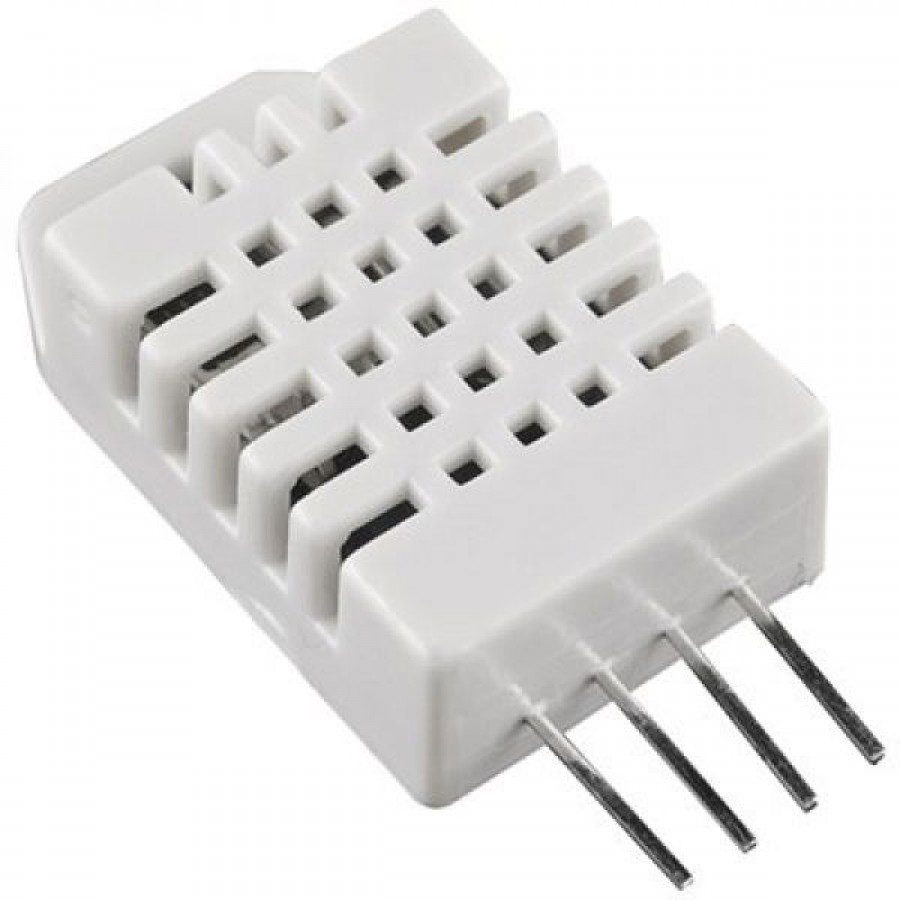
A DHT22 sensor can arrive as a bare four-pin part, a small breakout or a wired AM2302 assembly. The housing and connector change the installation even when the intended measurements are similar. Choose the actual product form before drawing a wiring diagram or comparing prices.
Match the package to the installation

A bare part leaves power, data pull-up and physical support to the circuit designer. A breakout may include a resistor and conveniently labeled header, but its connector order must still be checked. A wired assembly moves the connector away from the sensing body. Do not assume that wire colours or a three-pin header follow the arrangement shown for the bare sensor.
Treat the data line as a timed interface
AM2302 communicates using a manufacturer-defined single-data-wire timing protocol. It is not an analog voltage output and is not the same protocol as a DS18B20 1-Wire device. Use firmware intended for DHT22/AM2302 rather than an ADC input or a generic temperature library selected only because it mentions one wire.
Plan power and pull-up together
Read the specification of the exact supplied sensor and carrier. The data pull-up must suit the controller input voltage as well as the sensor. A board accepting a particular supply voltage does not prove that all attached GPIO tolerate it. The Aosong manual discusses roughly 4.7k–5.1k pull-ups in typical applications; confirm whether a breakout already contains one before adding another.
Respect the measurement interval
The referenced AM2302 manual calls for at least two seconds between reads and more than two seconds of stabilization after power-up. A faster loop does not create faster trustworthy environmental measurements. Record failed transactions separately from valid readings rather than showing the last value as though it were new.
Choose placement before judging accuracy
Keep the sensing body away from warm regulators, direct sunlight, splashes and trapped humid air unless the installation is designed for those conditions. Packaging chemicals and condensation can affect results. Allow the assembly to settle after handling. A room display that changes near a hand is not a calibration or a controlled accuracy test.
Compare the complete purchase
Compare the bare part, module and wired version using their actual price, connector, included resistor, mounting and documentation. Confirm the supplied revision and cable before ordering. For a classroom monitor, accessible wiring may matter more than a small price difference. For critical environmental control, use an appropriately specified system and independent validation rather than relying solely on a hobby sensor.Newest in the store


Relevant Epro listing
Product information and prices were checked on 19 October 2026. This is a current snapshot, not a historical price associated with the publication timestamp. Stock, accessories and checkout prices can change. Listing claims are not independent performance or authenticity certifications.
| Product | Checked price | Stock |
|---|---|---|
| Humidity and Temperature Sensor DHT22 | PKR 740 | In stock |
| DHT22 Digital Temperature and Humidity Sensor Module in Pakistan | PKR 650 | In stock |
| AM2302 Temperature and Humidity Sensor (Wired DHT22) in Pakistan | PKR 930 | In stock |
Frequently asked questions
Does a three-pin module use the bare sensor pin order?
Not necessarily. Follow the labels and documentation of the actual breakout, not a diagram for the four-pin package.
Is a DHT22 suitable for reading every few milliseconds?
No. The referenced manual requires at least two seconds between measurements; use a sensor specified for the needed response rate.
Related Epro reading
Review breadboard connections before assembling a prototype. For controller expansion, the Mega 2560 pin guide explains why pin names and electrical limits must be checked together.
Technical references and test limitations
This guide uses the documentation linked below. The procedures are for a controlled, low-voltage learning setup; no independent hands-on test of the particular seller board is claimed. Record the actual part markings, wiring and firmware version before drawing conclusions from a test.