


OPT4001 Light Sensor: 7 Checks for Coherent Lux Samples

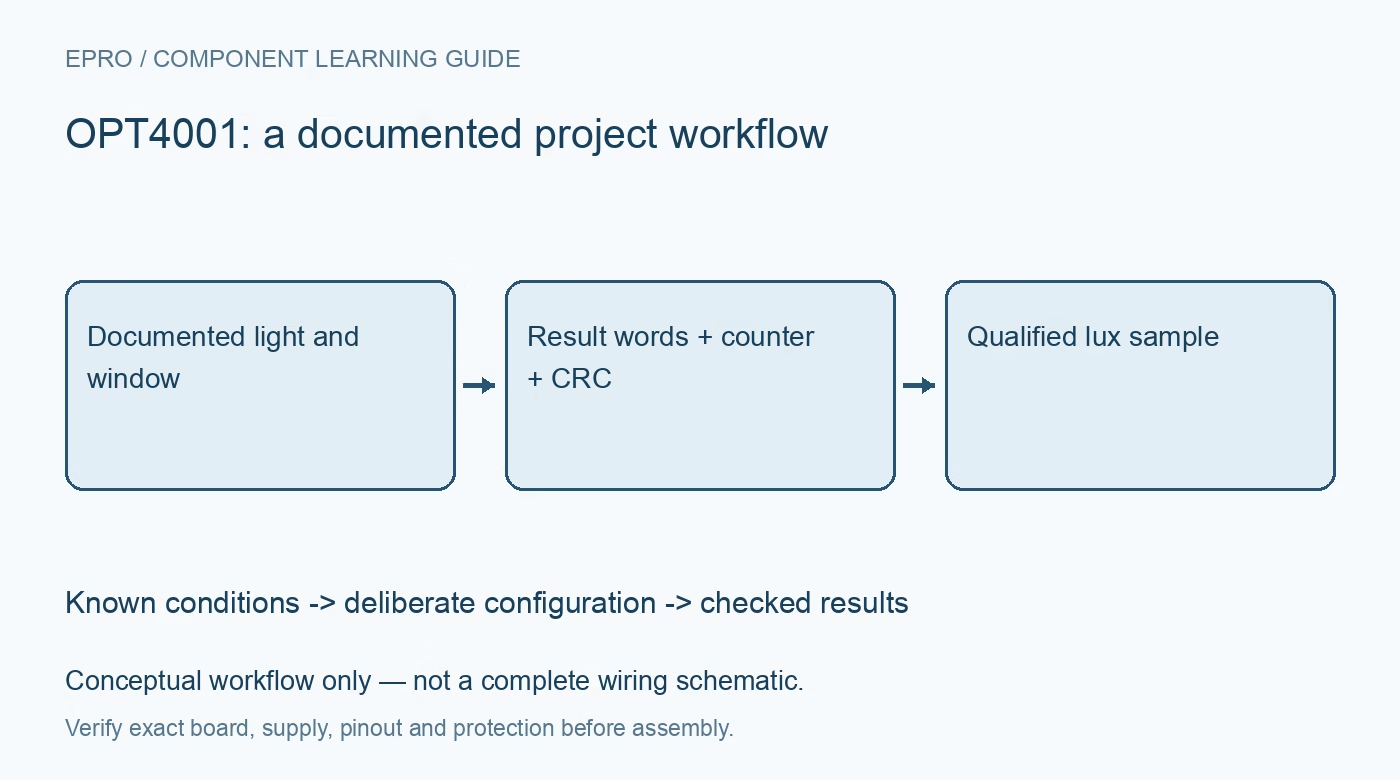
OPT4001 Light Sensor: 7 Checks for Coherent Lux Samples
Read OPT4001 light data with the correct package conversion factor, coherent result registers, counter and CRC checks, and documented optical conditions. This is a documentation-based planning guide, not a report of independent hands-on testing.
1. Identify the OPT4001 package and optical path
OPT4001 is an ambient light sensor with documented package variants. Confirm the exact device and carrier before choosing the conversion relationship or relying on an example register map. Package-specific characteristics matter, and a protective cover changes the light reaching the sensor. Record the window material, aperture, orientation and nearby light sources. A raw code cannot describe illumination at an arbitrary location unless the geometry connecting that location to the sensor is understood. Manufacturer documentation.
2. Establish supply and bus compatibility
Check supply, logic and pull-up arrangements against the exact board documentation. Review which pins and features are available on the selected package rather than assuming that every carrier exposes the same interrupt or trigger behavior. Use appropriate decoupling and keep the initial evaluation electrically bounded. An acknowledged address is a useful communication check, but it does not prove that conversion is running or that the host is interpreting the correct device registers. Manufacturer documentation.
3. Choose conversion timing for the application
Select the documented operating mode and conversion time according to the application’s response needs. Longer observation and filtering choices can change noise behavior and the effective information available in the result; they do not automatically establish system accuracy. Record timing with the sample data. Rapidly polling the bus cannot create independent optical observations faster than the configured conversion process, so application update rate and measurement freshness must be treated as separate quantities. Manufacturer documentation.
4. Read a coherent exponent and mantissa
The result is not simply a single unsigned integer containing lux. Follow the documented exponent and mantissa arrangement across the result registers, and use the specified read sequence to keep the words associated with the same conversion. Avoid mixing fragments obtained on opposite sides of an update. Reconstruct the numeric result with explicit unsigned arithmetic and the manufacturer’s relationship rather than borrowing a shift-and-scale routine from another ambient light sensor family. Manufacturer documentation.
Newest in the store


5. Apply counter and integrity checks
Use the available sample counter and CRC information according to the documented framing and algorithm. A repeated counter can indicate that software is reusing the same observation, while a failed integrity check should not quietly become a normal displayed reading. Define retry and invalid-sample behavior in advance. Preserve enough raw result information to diagnose failures. A quality flag is more useful than an apparently precise lux number assembled from inconsistent or corrupted register data. Manufacturer documentation.
6. Use the correct lux conversion factor
Apply the factor documented for the exact package variant after reconstructing the result. Check units and any overflow or status conditions before publishing a value. Do not hide a package mismatch by adding an arbitrary calibration multiplier until the output looks plausible. Compare against suitable reference equipment under controlled optical conditions when evaluating a finished assembly. Numerical resolution, automatic ranging and agreement at one light level do not establish accuracy across all conditions. Manufacturer documentation.
7. Retain the enclosure conditions with results
Keep device identity, conversion mode, timing, result status and optical arrangement beside every evaluation record. Reassess the assembly after changing a window, moving a status LED or altering the sensor recess. The related MAX44009 guide offers decoding comparisons, not an interchangeable conversion routine. This documentation-based OPT4001 workflow proposes coherent and traceable lux acquisition; it does not claim independent bench measurements, calibrated illuminance certification or equivalent behavior for every carrier advertised under the same part name. Manufacturer documentation.
Related reading: MAX44009 Light Sensor: 7 Checks for Honest Lux Readings.
Catalog note: The exact-part search did not return a matching Epro listing during preparation. Check the current catalog; this guide makes no price, availability or included-accessory claim.