


HC05 Connection with Arduino: Wiring and Code Guide

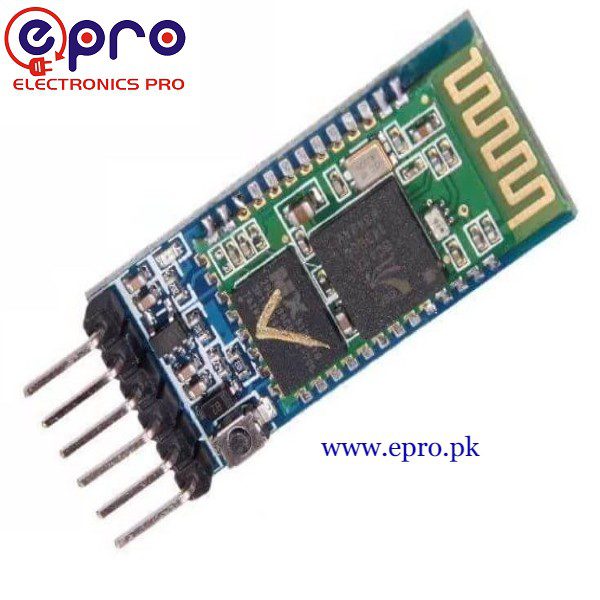
An HC05 connection with Arduino should be tested as two separate links: the UART wiring between the boards and the wireless serial connection to a compatible host. Pairing alone does not prove that the controller can receive valid bytes.
This tutorial uses a conventional 5 V Uno-compatible board and a regulated HC-05 carrier documented for a 5 V supply. A bare 3.3 V radio daughterboard needs a different power arrangement. The example exchanges harmless text only and does not operate an actuator.

1. Identify the regulated carrier and its signals
Check VCC, GND, TX and RX on the actual HC05 module. Confirm the carrier regulator and its supply specification before applying 5 V. Keep the normal data-mode configuration; KEY and STATE are not required for this starter serial bridge.
The HC-05 wiring reference explains why a regulated VCC input does not make the module’s RX pin 5 V tolerant. Disconnect USB while making the circuit.
2. Wire the HC05 connection with Arduino safely
| Connection | Conventional Uno test arrangement |
|---|---|
| HC-05 carrier VCC | 5 V only for the documented regulated carrier |
| HC-05 GND | Uno GND |
| HC-05 TX | Uno D10, software RX |
| Uno D11, software TX | 1 kΩ resistor to the HC-05 RX junction |
| HC-05 RX junction | 2 kΩ resistor to GND |
The divider junction connects to HC-05 RX. With 1 kΩ above it and 2 kΩ to ground, a nominal 5 V high becomes approximately 3.33 V. Reversing the resistor positions produces a different ratio. Inspect the divider before powering the circuit.
The HC-05’s 3.3 V TX output can be read as high by a conventional Uno input under the relevant specifications. Do not generalise this wiring to every controller or connect it to bipolar RS-232 signals.
3. Upload a small serial bridge
#include <SoftwareSerial.h>
SoftwareSerial bluetooth(10, 11); // RX, TX
void setup() {
  Serial.begin(9600);
  bluetooth.begin(9600);
  Serial.println("Text bridge ready");
}
void loop() {
  if (bluetooth.available()) {
    Serial.write(bluetooth.read());
  }
  if (Serial.available()) {
    bluetooth.write(Serial.read());
  }
}
SoftwareSerial is supplied with the conventional AVR Arduino environment. Select the correct Uno board and port, then open Serial Monitor at 9600 baud. The wireless module must also be configured for a 9600-baud data-mode UART for this exact sketch.
4. Connect a compatible serial terminal
Use a host and terminal that support the HC-05’s Bluetooth Classic serial profile. Pair according to the module and operating-system instructions, then open the actual terminal connection. A BLE-only terminal is not automatically compatible.Newest in the store


Send a short non-sensitive message in each direction. Configure newline handling deliberately so extra carriage returns are not mistaken for corrupted text. Do not enter passwords, personal PINs or other confidential information in a diagnostic serial log.
5. Distinguish the two baud settings
Serial.begin configures the USB-facing serial monitor link on this Uno setup; bluetooth.begin configures the software UART to the module. They happen to use the same number here, but they are separate interfaces.
9600 is a common data-mode setting, not a guarantee for every previously configured or differently labelled module. An AT-mode speed from another tutorial should not be substituted blindly. Confirm the actual data-mode configuration if the text is garbled.
6. Diagnose one direction at a time
If wireless text reaches the monitor but monitor text does not reach the host, inspect the D11 divider and HC-05 RX path. For the opposite failure, inspect HC-05 TX and D10. Check common ground before changing software.
A steady wireless connection with unreadable characters suggests a different problem from a host that cannot open the serial profile at all. Separate electrical levels, UART configuration and host compatibility instead of treating every failure as poor radio range.
7. Keep control logic out of the first test
This bridge has no authentication, command validation or disconnect-safe actuator behaviour. The HC05 Bluetooth module buying guide explains those limits. Prove a reliable harmless text exchange before planning any application that changes the physical world.