


TMP117 Arduino: 7 Startup and Data-Ready Checks

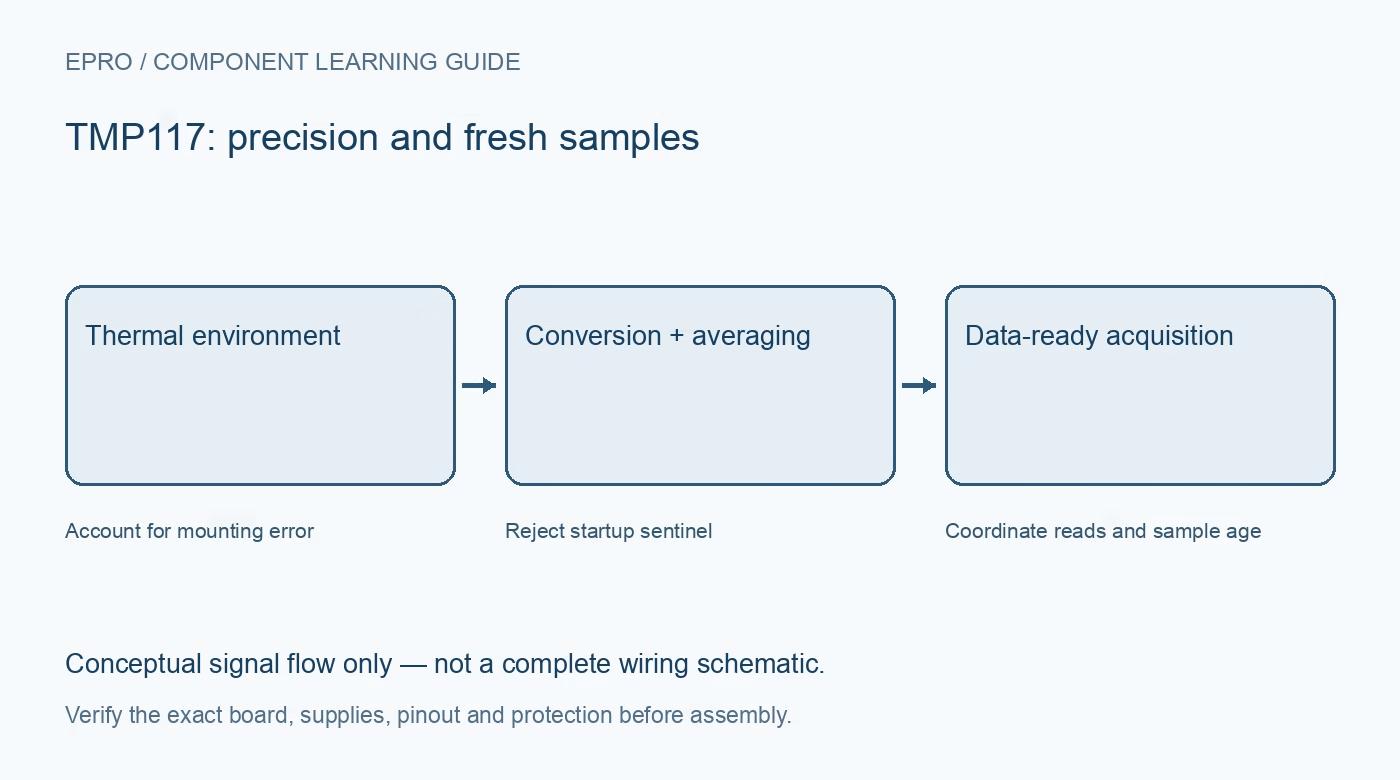
A TMP117 Arduino test should wait for a completed conversion before presenting a temperature. The power-up result and data-ready clearing behaviour make startup and polling order important, even when the I2C bus itself works correctly.
Check the carrier and address selection
Use the exact module schematic for supply, ground, bus and address connections. Confirm compatible pull-up voltage and identify the chosen address option. Power down before changing straps; do not assume the address of a similar-looking temperature module is the correct one.
Initialize and record the configuration
Use a maintained driver, check initialization success and log the actual conversion cycle, averaging and operating mode. Read back settings where supported. Changing averaging later should update the expected acquisition schedule rather than silently reusing an old delay selected for a faster configuration.
Reject the documented startup result
Before the first completed conversion, the temperature register contains raw 0x8000, which decodes to minus 256 degrees Celsius. That value is a startup condition, not the room temperature. Wait for valid acquisition and display unavailable status until the first accepted observation exists.
Use signed sixteen-bit conversion
Assemble the most-significant byte first, interpret the complete word as signed two’s complement and multiply by 0.0078125 degrees Celsius. Reject a short transfer before conversion. An unsigned calculation turns a legitimate negative temperature into an implausibly large positive number.
Coordinate reads with data-ready clearing
Reading the configuration or temperature register can clear data-ready status. Separate routines that independently poll and read may therefore interfere with one another. Give one acquisition routine ownership of readiness and result retrieval, then share an accepted timestamped sample with display and logging tasks.
Leave nonvolatile programming out of first bring-up
A room logger does not need to rewrite EEPROM on every boot or sample. Use ordinary configuration APIs and preserve factory traceability storage. If an offset is later required, establish a valid reference procedure and follow the documented write protection, timing and endurance requirements.
Newest in the store


Exercise failure and restart states
Test an incorrect software address, then restore it and confirm a fresh reading resumes. Restart the sensor and verify that the startup sentinel is not graphed as a real excursion. Log communication status and sample age; these are integration checks, not independent accuracy certification.
Frequently asked questions
Why can one task miss a data-ready event?
Another configuration or temperature read may have cleared it. Centralize acquisition ownership.
Is minus 256 degrees immediately after reset a real reading?
No. It is the documented power-up register value before the first conversion.
Availability and illustration note
No matching Epro product was returned by the catalog search on 21 October 2026 UTC. This learning guide does not assert stock, a selling price or compatibility of an unidentified substitute. The illustration is an original conceptual signal-flow diagram, not a product photograph or complete wiring schematic.
Related Epro reading
For a first bench setup, review breadboard connections and continuity checks and I2C voltage-level translation. These guides do not replace the exact module schematic.
Technical references and limitations
Source: Texas Instruments TMP117 datasheet. Electrical limits apply to the named part, not automatically to every carrier board. This is a documentation-based learning workflow, not a claim of independent hardware testing, traceable calibration or safety certification.